Tuesday, November 20, 2012
Wednesday, August 8, 2012
a new recipe
CHIPOTLE-CILANTRO DIP
Sunday, June 24, 2012
Patriotic Wreath
 |
| via All You |
- 18" green Styrofoam wreath
- 4 yards of 1 1/2" wide ribbon
- 12" x 12" sheets of scrapbook paper
- Ruler
- Scissors
- Bone folder or metal ruler
- Double-sided tape
- Assorted star stickers
- Hot-glue gun
2. Fold each piece of paper widthwise in 3/8" wide accordion-style pleats. Use a bone folder or the edge of a metal ruler to sharpen creases.
3. Fold each pleated piece of paper in half and tape inner edges together. Gently spread pleats apart. Arrange three fanned pieces together to form a circle, and join with tape. Add a star sticker to center. You will need approximately 40 of these medallions to create the wreath.
4. Wrap wreath in ribbon until completely covered. Tie ends to secure. Starting with largest medallion, hot-glue each to wreath. Continue with medium and small sizes until wreath is covered. Finish by gluing ornaments in place.
Thursday, April 26, 2012
Oh Oliver
More Ollie & some Birthday Wishes!
These are the sweetest pictures ever......
Happy Birthday to a wonderful
daughter, sister, friend, mother & PHOTOGRAPHER!
Friday, April 13, 2012
Did you know
Today is National Peach Cobbler Day.
This I did not know!
Peach Cobbler Recipe
 |
| via Taste of Home |
Ingredients
- 1 cup all-purpose flour
- 1/2 cup sugar
- 2 teaspoons baking powder
- 1/2 teaspoon salt
- 1/2 cup milk
- 3 cups sliced peeled fresh or frozen peaches
- TOPPING:
- 2 cups water
- 1/2 cup sugar
- 1/2 cup packed brown sugar
- 1 tablespoon butter
- 1/4 teaspoon ground nutmeg
- Ground cinnamon, optional
- Half-and-half cream
Directions
- In a large bowl, combine the flour, sugar, baking powder and salt. Stir in the milk just until combined; fold in peaches. Spread into a greased 8-in. square baking dish.
- In a large saucepan, combine the water, sugars, butter and nutmeg and cinnamon if desired. Bring to boil, stirring until sugars are dissolved. Pour over top.
- Bake at 400° for 40-50 minutes or until filling is bubbly and a toothpick inserted in topping comes out clean. Serve warm or cold with cream. Yield: 8 servings.
Wednesday, April 11, 2012
Tuesday, April 3, 2012
Saturday, February 25, 2012
Thursday, February 16, 2012
Thank You Thursday - Baby Love
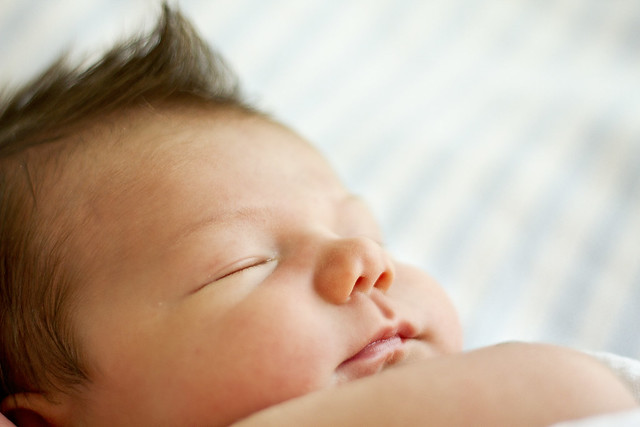
Welcome Baby Oliver
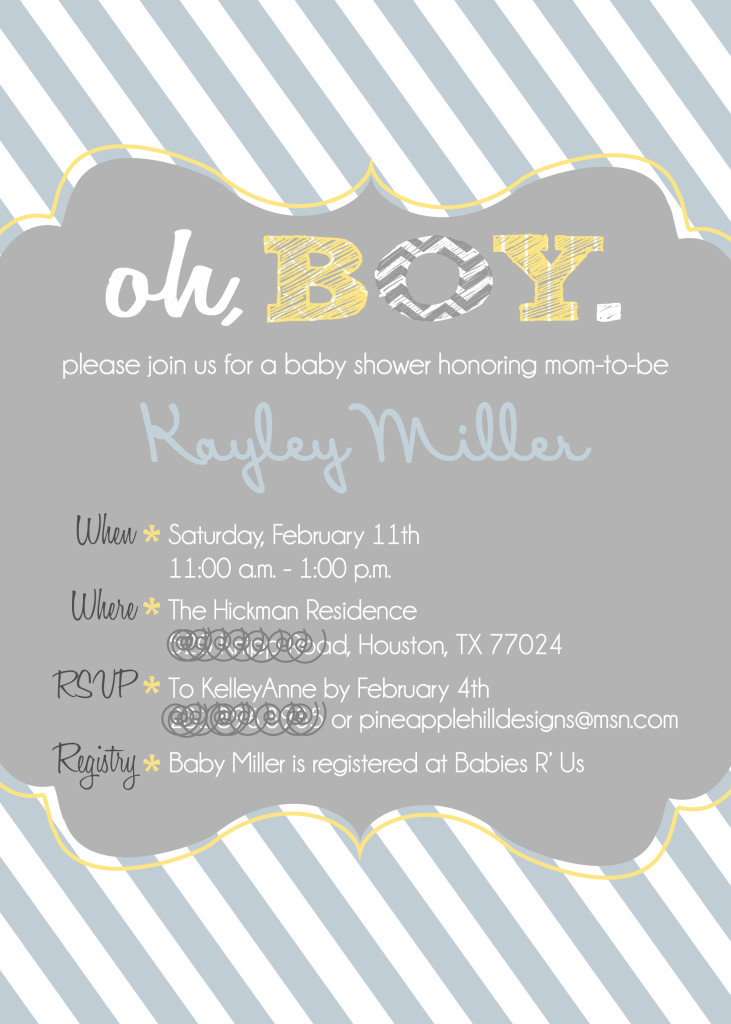
We are so excited that Baby Oliver's arrival is soon upon us! Last weekend
we had a fun celebration for our cute mom-to-be, Kayley.

we had a fun celebration for our cute mom-to-be, Kayley.

Kayley's friend, Lisa, has this amazing house that is centrally located
and offered it for us to have Kayley's Baby Shower.
and offered it for us to have Kayley's Baby Shower.
It was so fun planning and preparing for the shower and we couldn't be happier with how everything went.
Marci is the "esteemed cook" in our family. Her menu blog is my favorite reference when I need a recipe.
She came up with ideas for food and prepared and coordinated with some of
Kayley's friends that wanted to help out.

Marci is the "esteemed cook" in our family. Her menu blog is my favorite reference when I need a recipe.
She came up with ideas for food and prepared and coordinated with some of
Kayley's friends that wanted to help out.

Kayley's sweet mother-in-law Lorna offered to take care of the dessert.
and decided on the most amazing cupcakes. She got them
HERE.
They were delicious~
She brought three flavors and I really couldn't pick a favorite.
Vanilla, Lemon and Peanut Butter Chocolate.
Kayley designed amazing invitations, some banner letters, cupcake toppers
and tags and labels for the food and favors.
and tags and labels for the food and favors.
 |
| Cupcake Table |
 |
My mom addressed and mailed the invitations for us.
She loves hand addressed letters.
She loves hand addressed letters.
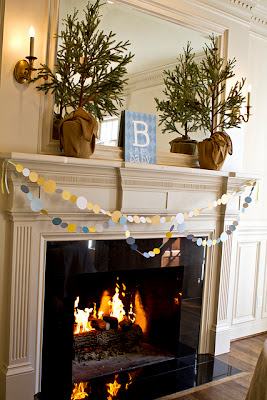
I adored my assignment. I got to take care of decorations and favors.
I had so much fun sewing circle banners. It became addictive and before I knew it
I had a mile of them. As it turned out it was the perfect amount when
we went to set them up in Lisa's beautiful house the day before the shower.
we went to set them up in Lisa's beautiful house the day before the shower.
I love using it for Baby Boy Showers.
Kayley e-mailed a file to show me the cupcake toppers she was designing. I thought
they were adorable and printed one not realizing it hadn't yet been re-sized.
It was a 5 1/2 inch circle! It was so funny but I loved it
and couldn’t bare to just toss it
and couldn’t bare to just toss it
I love this old window. It is so fun for holidays and parties. I found it
There have been so many cute showers and parties where
mason jars were used for drinking glasses and
The “Welcome Baby Oliver” banner Kayley designed was adorable.
After I printed it and cut it out I decided to add some pennants
behind her letters to better show them off.
After I printed it and cut it out I decided to add some pennants
behind her letters to better show them off.
A couple of years ago I made advice and prediction cards for a friend’s baby shower.
I thought it would be fun for Kayley and Scott.
I thought it would be fun for Kayley and Scott.
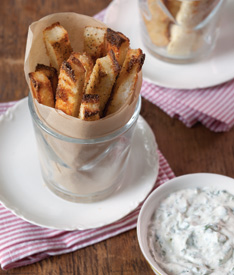
The food was divine.






.jpg)


