Welcome Baby Oliver
We are so excited that Baby Oliver's arrival is soon upon us! Last weekend
we had a fun celebration for our cute mom-to-be, Kayley.


we had a fun celebration for our cute mom-to-be, Kayley.


Kayley's friend, Lisa, has this amazing house that is centrally located
and offered it for us to have Kayley's Baby Shower.
.jpg)


and offered it for us to have Kayley's Baby Shower.
.jpg)


It was so fun planning and preparing for the shower and we couldn't be happier with how everything went.
Marci is the "esteemed cook" in our family. Her menu blog is my favorite reference when I need a recipe.
She came up with ideas for food and prepared and coordinated with some of
Kayley's friends that wanted to help out.

Marci is the "esteemed cook" in our family. Her menu blog is my favorite reference when I need a recipe.
She came up with ideas for food and prepared and coordinated with some of
Kayley's friends that wanted to help out.


Kayley's sweet mother-in-law Lorna offered to take care of the dessert.
We decided cupcakes would be fun.

Lorna shopped around

Lorna shopped around
and decided on the most amazing cupcakes. She got them
HERE.
They were delicious~
She brought three flavors and I really couldn't pick a favorite.
Vanilla, Lemon and Peanut Butter Chocolate.

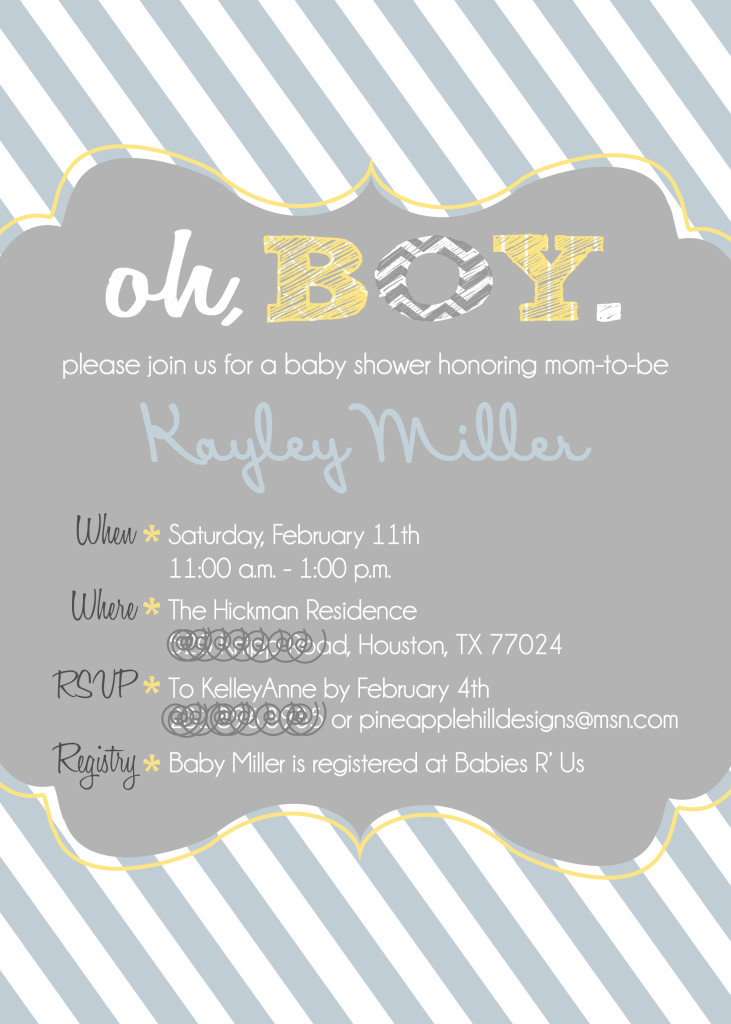
Kayley designed amazing invitations, some banner letters, cupcake toppers
and tags and labels for the food and favors.

and tags and labels for the food and favors.

 |
| Cupcake Table |
 |
My mom addressed and mailed the invitations for us.
She loves hand addressed letters.

She loves hand addressed letters.
I adored my assignment. I got to take care of decorations and favors.
I had so much fun sewing circle banners. It became addictive and before I knew it
I had a mile of them. As it turned out it was the perfect amount when
we went to set them up in Lisa's beautiful house the day before the shower.
we went to set them up in Lisa's beautiful house the day before the shower.
They looked so pretty in the four front windows .


I love using it for Baby Boy Showers.
Kayley e-mailed a file to show me the cupcake toppers she was designing. I thought
they were adorable and printed one not realizing it hadn't yet been re-sized.
It was a 5 1/2 inch circle! It was so funny but I loved it
and couldn’t bare to just toss it
and couldn’t bare to just toss it
so I decided to incorporate it into a banner for the beverage bar.


I love this old window. It is so fun for holidays and parties. I found it
on Etsy last year and it was perfect to feature the important announcement.


There have been so many cute showers and parties where
mason jars were used for drinking glasses and
they were a nice size for the "must have" striped straws.


The “Welcome Baby Oliver” banner Kayley designed was adorable.
After I printed it and cut it out I decided to add some pennants
behind her letters to better show them off.

After I printed it and cut it out I decided to add some pennants
behind her letters to better show them off.

A couple of years ago I made advice and prediction cards for a friend’s baby shower.
I thought it would be fun for Kayley and Scott.
I thought it would be fun for Kayley and Scott.

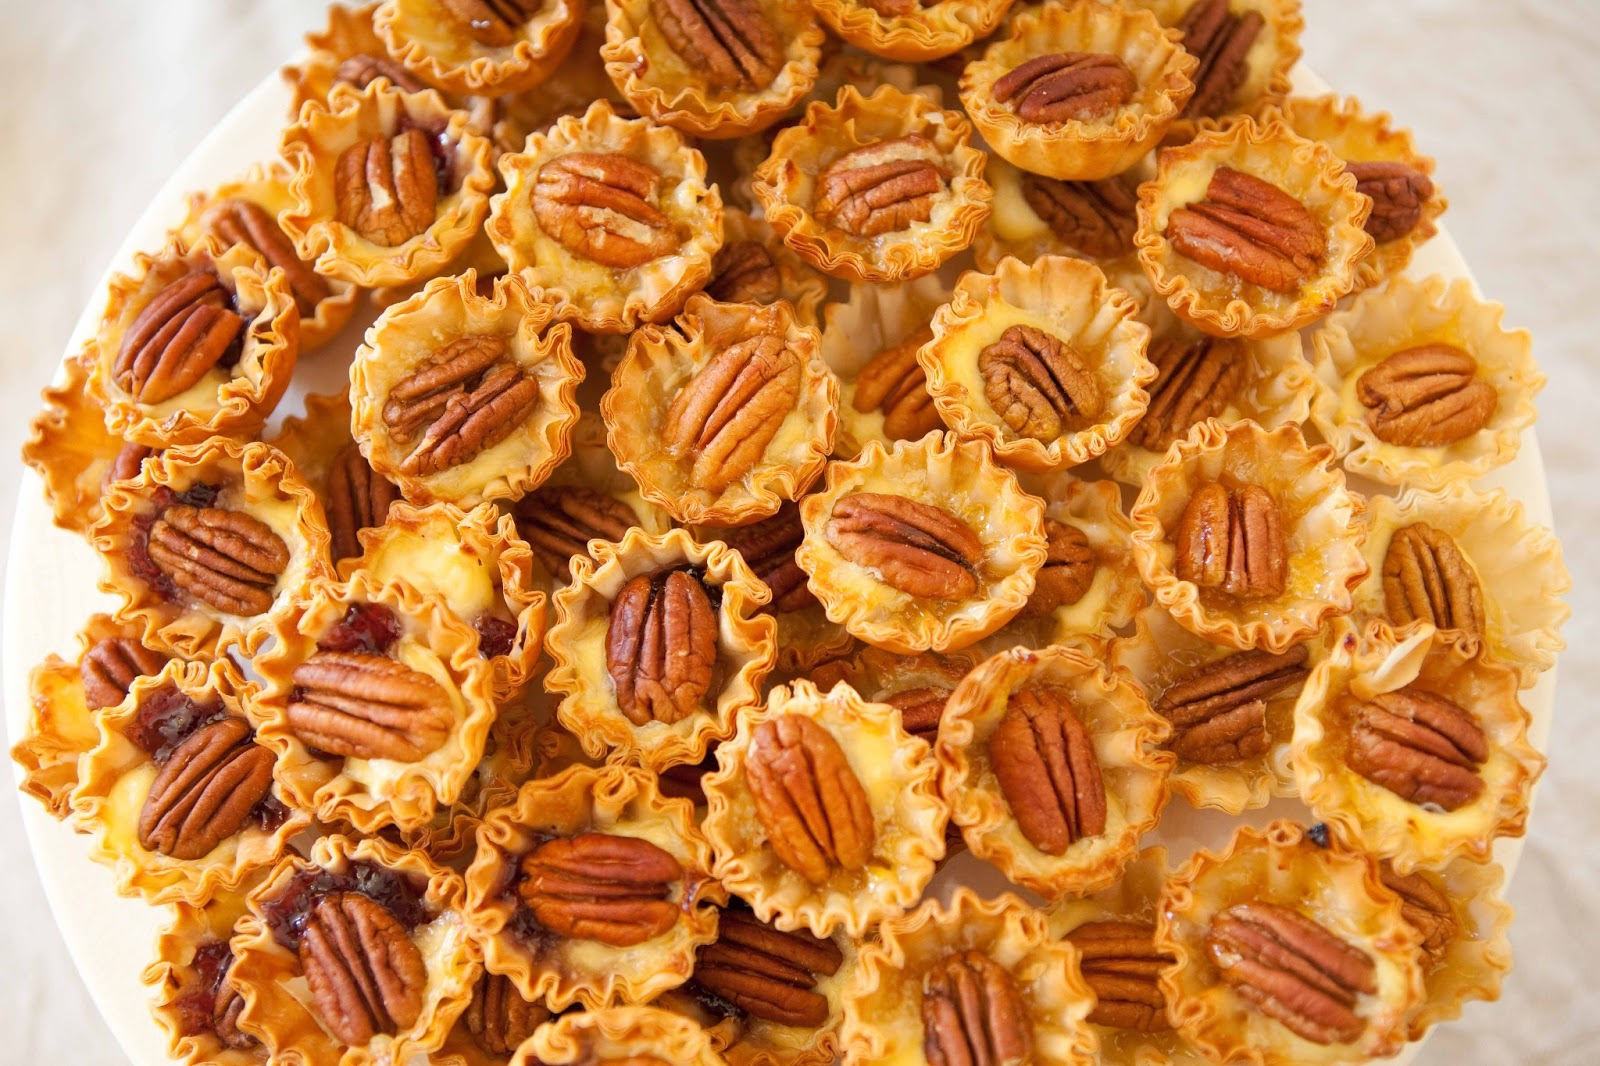
The food was divine.




For the favors I decided to make Rice Krispie Treat pops.


Something simple and gluten free for Marci and Hope.
I think they’re ready now


.jpg)