Thursday, February 3, 2011

Happy February

Goodness Gracious is it really February!  
I don't even know where to begin..........

First of all we had the Merriest Christmas ever!   It was so fun to have Mack home nice and safe 
AND he and Cheryl came for a few days for Christmas.

So, here we go, my February 1st ~ Christmas Reflection Post

Photobucket
 Of course Ella and Addie had a baking day with Nana.
I so love these sweeties!

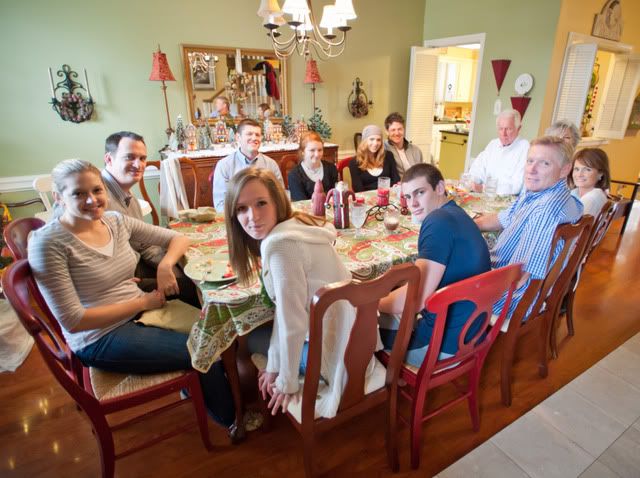
We always have Christmas Eve dinner at my mom's and then open our presents from each other.  
I love these pictures Cheryl took that I stole from Marci :)

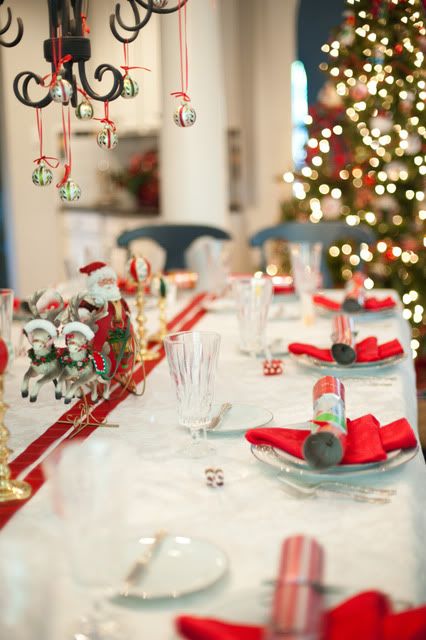
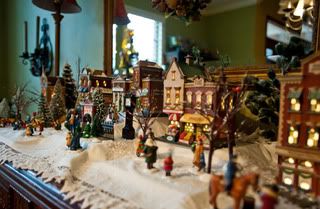
Mom's Pretty Table
Photobucket
Photobucket
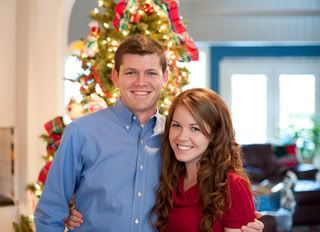
Mack & Cheryl Joy
Photobucket
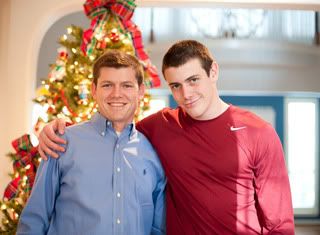
The Bros!
Photobucket
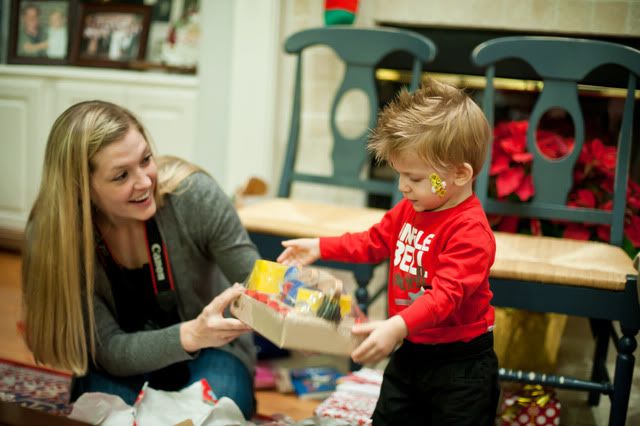
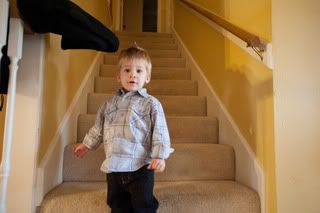
Preston opening his present from Nana and Grandad
Photobucket
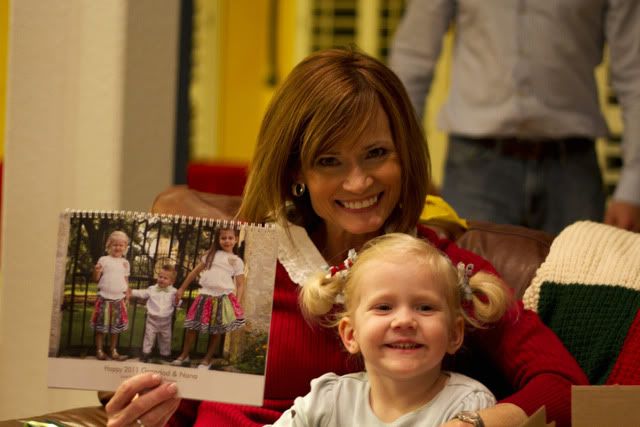
I was hoping I'd get a new Calendar from the grand babies!

Photobucket
 It was so fun to have everyone together.

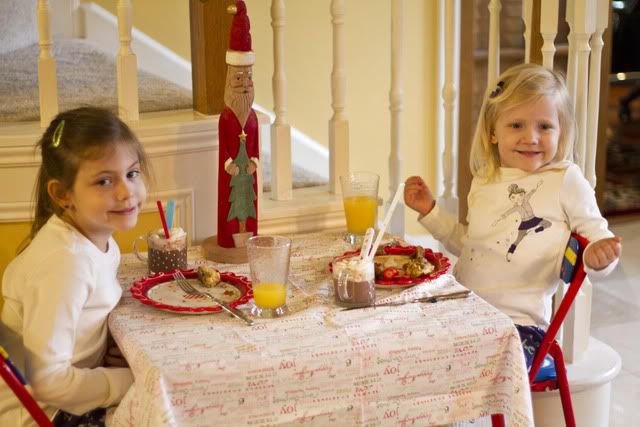
On Christmas morning we had brunch at our house.
Photobucket
Ella and Addie at their little table
Thanks Cheryl for taking these pictures ♥ of the morning...
Photobucket
PhotobucketPhotobucket
Photobucket
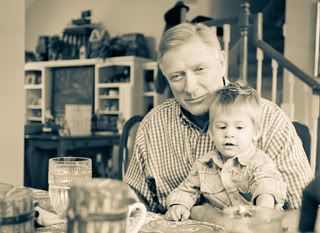
Granddad and Preston are Big Time Buddies

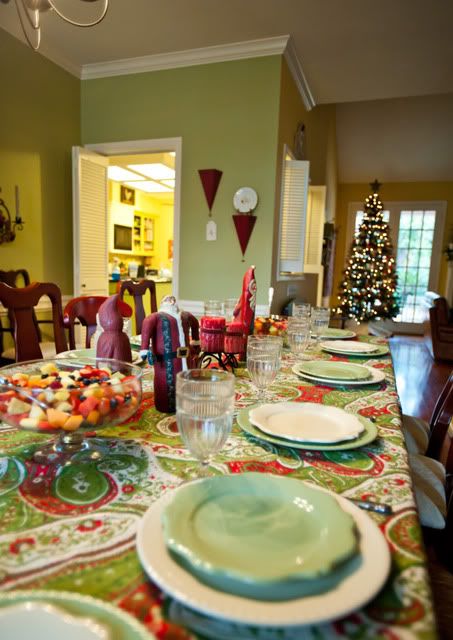
The Dining Room Christmas Eve


The Dining Room Christmas Morning
Photobucket
We're going to need a bigger table!


The Menu for Christmas Eve Dinner at Mom's and Christmas Brunch is at Marci's Menu Blog:


Wednesday, December 29, 2010

Note to Self

"Don't throw the candy canes away."

You'll need them in February to 
Make These:
 Remove the cellophane wrapping from the canes and form hearts by placing them hook to hook and tail to tail on a nonstick baking sheet or one lined with parchment paper. Bake at 350°F for 2 to 4 minutes (depending on the canes’ size) or until they stick together when you pinch the ends lightly. Cool thoroughly and remove with a spatula. If you want to make flat hearts with psychedelic stripes, bake for 8 to 10 minutes.


Tuesday, December 28, 2010

Did you Know...

Shabby Apple 
is having a
Great Sale

Enter coupon code 
to receive 20% of your order!

Friday, December 17, 2010

Silent Monks Singing Halleluia‏

My dad sent this to me and I just have to share it!
(Creative high schools students give a great rendition of Halleluia!)
Enjoy!


Sunday, December 12, 2010

Concert Season

Last week Hope had two Holiday Concerts.


Thanks to Marci we have the video of the 
Taylor High School Symphony Orchestra Concert.
  Hope's favorite number was the
"Hungarian March, Op. 24"~Hector Berlioz 
Directed by Mr. Bailey


We were amazed that we were listening to High School kids!

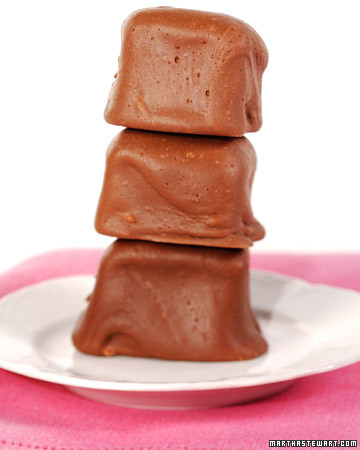
Chocolate Covered Marshmallows

 Momma Reiner's
Chocolate Covered Marshmallows
From The Martha Stewart Show, December 2007
This wonderful recipe for sweet chocolate-covered marshmallows is courtesy of 
Kimberly Reiner of Momma Reiner's Fudge
 

Ingredients

Makes about 30 chocolate-covered marshmallows
  • Nonstick cooking spray
  • 2 tablespoons plus 1/2 teaspoon unflavored gelatin
  • 2 cups sugar
  • 1/2 cup light corn syrup
  • 1/2 cup hot water
  • 1/4 teaspoon salt
  • 2 large egg whites
  • 1/2 teaspoon pure vanilla extract
  • 1 cup cornstarch
  • Momma Reiner's Chocolate Fudge

Directions

  1. Lightly spray a 9-by-13-inch glass baking dish with nonstick cooking spray. Sprinkle gelatin over a small bowl filled with 1/2 cup cold water; let stand to soften.
  2. In a heavy bottomed saucepan, mix together sugar, corn syrup, hot water, and salt. Place over medium heat and cook, stirring, until sugar has dissolved. Continue cooking, without stirring, until mixture reaches the soft-ball stage, about 240 degrees on a candy thermometer. Remove from heat and add gelatin mixture; set aside.
  3. In the bowl of an electric mixer fitted with the whisk attachment, beat egg whites on high speed until stiff peaks form. With the mixer running, slowly add sugar mixture. Add vanilla and continue beating for 10 minutes until the mixture looks like marshmallow.
  4. Transfer marshmallow mixture to prepared baking dish and spread evenly. Spray a piece of parchment paper with nonstick cooking spray and cover marshmallow. Let stand overnight.
  5. Remove parchment paper and invert marshmallow onto work surface. Trim 1/4-inch from edges of marshmallow. Cut marshmallows into 1 1/2-inch squares. Pour cornstarch in a bowl; working in batches, gently add marshmallows and toss to coat.
  6. Line a baking sheet with parchment paper; set aside. Working with 1 marshmallow at a time, insert skewer into a marshmallow and dip in fudge until coated on all sides, removing any excess from bottom of marshmallow; place on prepared baking sheet. Repeat process with remaining marshmallows (you will have some marshmallows left over). Let chocolate covered marshmallows stand at room temperature overnight before serving or transferring to an airtight container for up to 3 days.

Wednesday, November 24, 2010

Cute Cupcake for the Kids!

Sweet T.O.M. Turkeys
via Family Fun 
almost too cute to eat
Just couldn't resist these adorable Thanksgiving Cupcakes from Family Fun Magazine!

Their candy corn plumage and shortbread wings guarantee that these irresistible Treat of the Month Turkeys (T.O.M.s for short) will be gobbled up as soon as they land on the dessert table.
                Ingredients:
  • Cupcake
  • Chocolate frosting
  • 3 oval shortbread cookies (we used Keebler Sandies Right Bites Shortbread)
  • 6 to 10 candy corn pieces
  • White icing
  • Black decorators' gel
  • Red fruit leather (we used strawberry Fruit by the Foot)


                    Instructions:
    1. Frost the cupcake, then press in a cookie head and 2 cookie wings.
    2. Press in a row or two of candy corn tail feathers.
    3. To make an eye, add a small dot of white icing to the head, then add a dot of black decorators' gel for a pupil.
    4. For a beak, cut the white tip from a piece of candy corn and press it in place.
    5. To make the wattle, cut a 1-inch square of fruit leather. Roll it into a tube and stick it in place over the beak.

Tuesday, November 23, 2010

Cream-Filled Pumpkin Cupcakes Recipe

via Taste of Home—Ali Johnson, Petersburg, Pennsylvania

Here's a deliciously different use for pumpkin. Bursting with flavor and plenty of eye-catching appeal, these sweet and spicy filled cupcakes are bound to dazzle your family any time of the year.

Ingredients

2 cups sugar
3/4 cup canola oil
1 can (15 ounces) solid-pack pumpkin
4 eggs
2 cups all-purpose flour
2 teaspoons baking soda
1 teaspoon salt
1 teaspoon baking powder
1 teaspoon ground cinnamon

FILLING:
1 tablespoon cornstarch
1 cup milk
1/2 cup shortening
1/4 cup butter, softened
2 cups confectioners' sugar
1/2 teaspoon Spice Islands®, All Natural, No Corn Syrup Added, Pure Vanilla Extract, optional
Whole cloves, optional

Directions

In a large bowl, combine the sugar, oil, pumpkin and eggs. Combine the flour, baking soda, salt, baking powder and cinnamon; gradually add to pumpkin mixture and beat until well mixed.

Fill paper-lined muffin cups two-thirds full. Bake at 350° for 18-22 minutes or until a toothpick inserted near the center comes out clean. Cool for 10 minutes before removing from pans to wire racks to cool completely.
For filling, combine cornstarch and milk in a small saucepan until smooth. Bring to a boil, stirring constantly. Remove from the heat; cool to room temperature.
In a large bowl, cream the shortening, butter and confectioners' sugar until light and fluffy. Beat in vanilla if desired. Gradually add the cornstarch mixture, beating until smooth.
Using a sharp knife, cut a 1-in. circle 1 in. deep in the top of each cupcake. Carefully remove tops and set aside. Spoon or pipe filling into cupcakes. Replace tops. If desired, add a clove "pumpkin stem" to the tops. Yield: about 1-3/4 dozen.


Monday, November 22, 2010

Mindful Monday


"I believe we uncover the place of rest deep inside us when we allow a space in our hearts for gratitude, when we open ourselves to the realizations of life's abundance. We are never truly prosperous until we realize that our lives are full of riches that money can't buy."
                                                                                     ~Janene Wolsey Baadsgaard


Thursday, November 18, 2010

Wednesday, November 17, 2010

Thanksgiving Inspiration

Talking Turkey
with
(photo from Williams-Sonoma)
Celebrity chef, Emeril Lagasse, shares his expertise for the big day! Carve that turkey to perfection with these great tips:
First off, make sure you have a very sharp, long, slender knife, and a 2-pronged, long-handled fork to easily grip the turkey and keep it from sliding. Having the right tools will definitely help you remove the meat in attractive slices.
  1. Place the turkey on a large platter or cutting board where it will not slide or shift while being carved. Cut the string and remove the contents of the carcass.
  2. Remove the drumstick and thigh from the carcass by inserting the point of the knife into the leg joint and what looks like, and what commonly is called, the oyster. Cut the dark meat completely from the body by cutting along the carcass.
  3. Cut through the joint between the drumstick and thigh. Lay a drumstick flat on the cutting surface and hold it steady with the fork, and slice parallel to the bone. Cut the thigh in a similar manner.
  4. Cut through the wing joint and remove it from the breast as you removed the legs. Leave the wings whole and place on the serving platter.
  5. Carve the breast by holding one side of the breast with the fork, and slicing full-length slices of meat by pulling the knife down through the meat, parallel to the breastbone.
Handmade Cornucopia (Martha Stewart Living)
A raffia cornucopia filled with fall produce looks bountiful when set on a sideboard or chest.  
Get the Step-by-Step Instructions


Harvest Wreath
Now is just the moment for a crisp-as-fall wreath made with artfully layered dried cornhusks.
Give THANKS by GIVING! Blessed are those who can give without remembering, and take without forgetting.  
~Princess Elizabeth Asquith Bibesco 
We are rich only through what we give, and poor only through what we refuse.
~Anne-Sophie Swetchine


Thursday, November 4, 2010

Thank You Thursday

Tomorrow is
 
November 5th


Frog's Birthday!


Happy Wishes
 

and
Lots  of Lve
[meanddad.jpg]
 

to my
 
Dear Dad
 
 
repost: 
My dad is an amazing guy. A career in the U.S. Navy meant that he was often gone for months at a time. Even so, I was "daddy's little girl" and I knew that always, if he was home or away. Being the only daughter in the middle of two boys could be frustrating to a girl, especially when we were voting for what TV show to watch! It could also be pretty wonderful and that it was most of the time.
When I was tiny my dad called me his "sweetie pie" and I repeated, "I'm daddy's Wheetie Pie". To this day, I still sign my notes and cards 
~Love, Wheetie Pie.

My dad has many attributes and talents. I admire his strength, integrity and compassion just to name a few. He always made me feel safe when I was a child and he knew the answer to EVERYTHING. I'm still learning from him even today just by the life he leads.
I love you, Dad!

X0X0X0X0
 
Love,
Wheetie Pie

Tuesday, November 2, 2010

WHooooo Wants a Cupcake?

I saw these Owl Cupcakes 

on Heather's blog.  

I thought they were so cute and just had to make some! 

Next year I will definitely follow the tip I found Here.

I'm positive that when I have shared Oreos with the kids in the past and split them in half they separated perfectly but that just wasn't happening for these cupcakes.

If only I'd known the secret tip...
(microwaving a few cookies at a time for several seconds helps to keep the cream side solid)


We had our annual Halloween Dinner and it was lots of fun.


I'll have to steal some more pictures from Marci.  
I was too busy to get them this year.


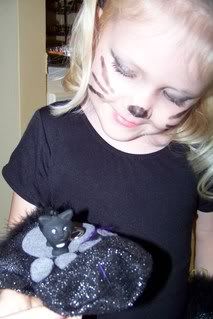
Princess (Tiana ) Ella and  Frog Preston and of course,  Addie Cat


pictures via  Marci
Photobucket
Creative Cupcake
 in the Works


Photobucket
Scott & Kassandra
Photobucket
Addie & Little Cat from Grandad
Great Frog and Little Frog
Photobucket


Saturday, October 23, 2010

Tickle Ghosts

Nana's Tickle Ghosts

Last week Addie, Preston and Taylor did a little project at Nana's house.  I actually got this idea years ago when I taught at a Montessori Preschool.  We did this every year with black construction paper.  I still have Marci's but the paper has faded. 

I decided to use canvas instead since it was on sale at Hobby Lobby.  I painted the canvas black ahead of time so we'd be set to go.


Addie did not want to have anything to do with painting the bottom of her foot white.  Taylor thought it looked like great fun.  She was giggling the whole time so Addie agreed to join in and of course Preston wanted to keep up with the gang and was eager for his turn.  Hope and I got Ella's after school.

 
Freeman Family Ghosts

 
Taylor's Ghost

Didn't they turn out cute?